In addition to the built-in nodes, you can create your own custom nodes using JavaScript to extend NodeBox's functionality. This tutorial will guide you through the process of creating a simple custom node.
Creating a Code Node
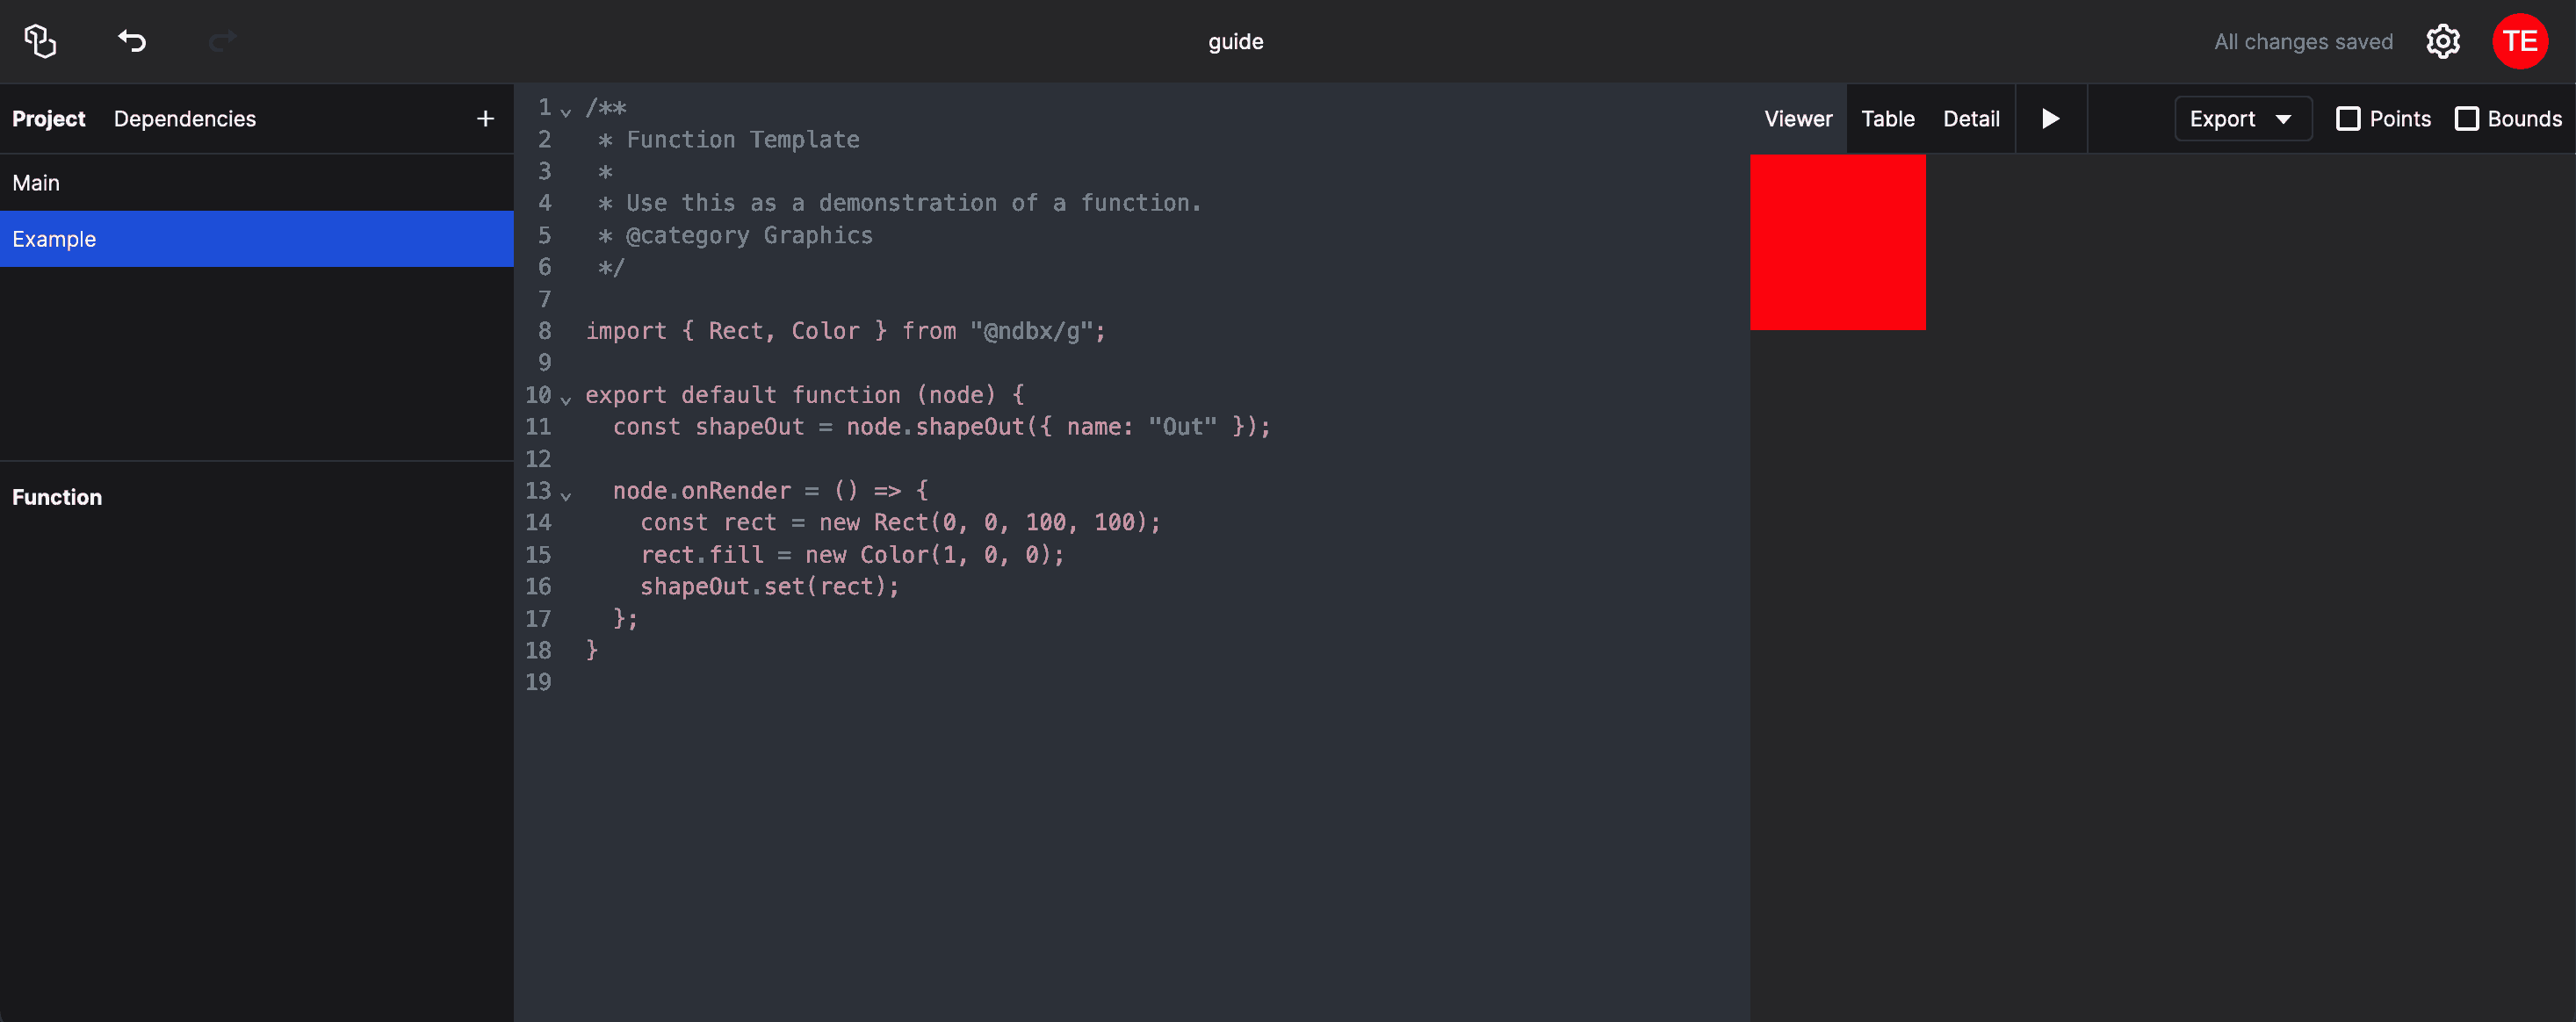
In the outliner, click the "+" button to create a new item. Give it a name (e.g. "Example") and select "Function". You will see a basic template of a node in JavaScript:
Adding parameters
To add parameters to your node, you can use any of the "in" functions, like node.numberIn or node.stringIn. For example, to add a number input to your node, you can use the following code:
const valueIn = node.numberIn({ name: "value", value: 33 });
This code creates a number input named "value" with a default value of 0. You can then use this input in your node's code:
node.onRender = () => {
  const value = valueIn.value;
  // Use the value in your rendering code
};
The following parameters are available:
node.numberIn({ name, value }): Creates a number input.node.stringIn({ name, value }): Creates a string input.node.booleanIn({ name, value }): Creates a boolean input.node.colorIn({ name, value }): Creates a color input.node.choiceIn({ name, value, choices}): Creates a menu input with the specified options. The value will always be a string.node.fileIn({ name, value }): Creates a file input, allowing the user to upload files. The value will be the contents of the file.
Adding input ports
To add input ports to your node, you can use the node.shapeIn for a shape, node.tableIn for a data table, and node.specIn for a Vega spec. Note that internally, these ports function exactly the same. Only the port color is different.
const shapeIn = node.shapeIn({ name: "shape" });
const tableIn = node.tableIn({ name: "table" });
const specIn = node.specIn({ name: "spec" });
To use the input shape in your rendering code, you can access the value of the port, like so:
node.onRender = () => {
  const shape = shapeIn.value;
  // Use the shape in your rendering code
};
A simple example: a translate node
Here is a simple example of a custom node that translates (moves) a shape:
import { Transform } from "@ndbx/g";

export default function (node) {
  const shapeIn = node.shapeIn({ name: "shape" });
  const xIn = node.numberIn({ name: "x", value: 0 });
  const yIn = node.numberIn({ name: "y", value: 0 });
  const shapeOut = node.shapeOut({ name: "out" });

  node.onRender = () => {
    const [shape, x, y] = [shapeIn.value, xIn.value, yIn.value];
    // Always copy the input shape!
    const newShape = shape.clone();
    // Create a new transformation object
    const transform = new Transform();
    transform.translate(x, y);
    newShape.applyTransform(transform);
    shapeOut.setValue(newShape);
  };
}
Next Steps
In order to build nodes that work with graphics, you have to understand the NodeBox graphics library. Read the NodeBox graphics documentation to learn more about the library.