In order to prepare a project for embedding, you need to publish it.
Most likely, your project will have external parameters that you want to control from the outside. You can define these parameters in the properties of the network.
Defining Parameters
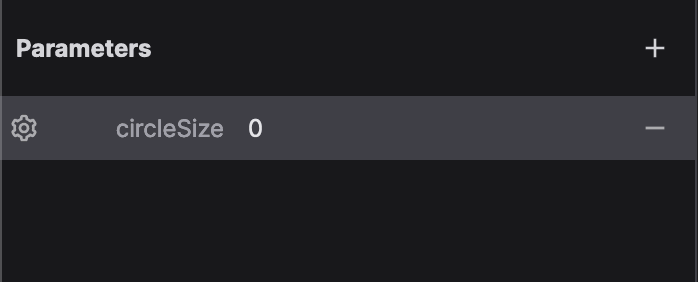
To add a parameter to a network, make sure no node is selected in the network editor. The properties panel will show the properties of the network. In the "Parameters" section, click the "+" button to add a new parameter, then enter a parameter name. When hovering over the new parameter, you can click the gear icon to configure it:
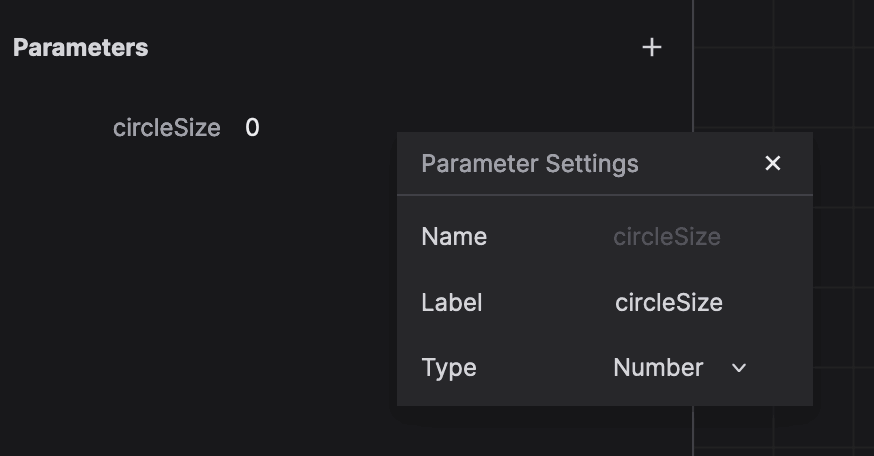
Here you can set the label of the parameter and its type (number, string, boolean, color, or file):
To set the default value of the parameter, just enter a value in the field. This value will be used when the project is embedded and no value is provided.
Using a parameter
To use the value of the published parameter, use network.parameterName as an expression in your nodes. For example, if you have a parameter named circleSize, you can use it in the rx and ry parameters of an Ellipse node by typing network.circleSize in the expression field. (Because we're talking about size, we probably want to divide the value by 2.)
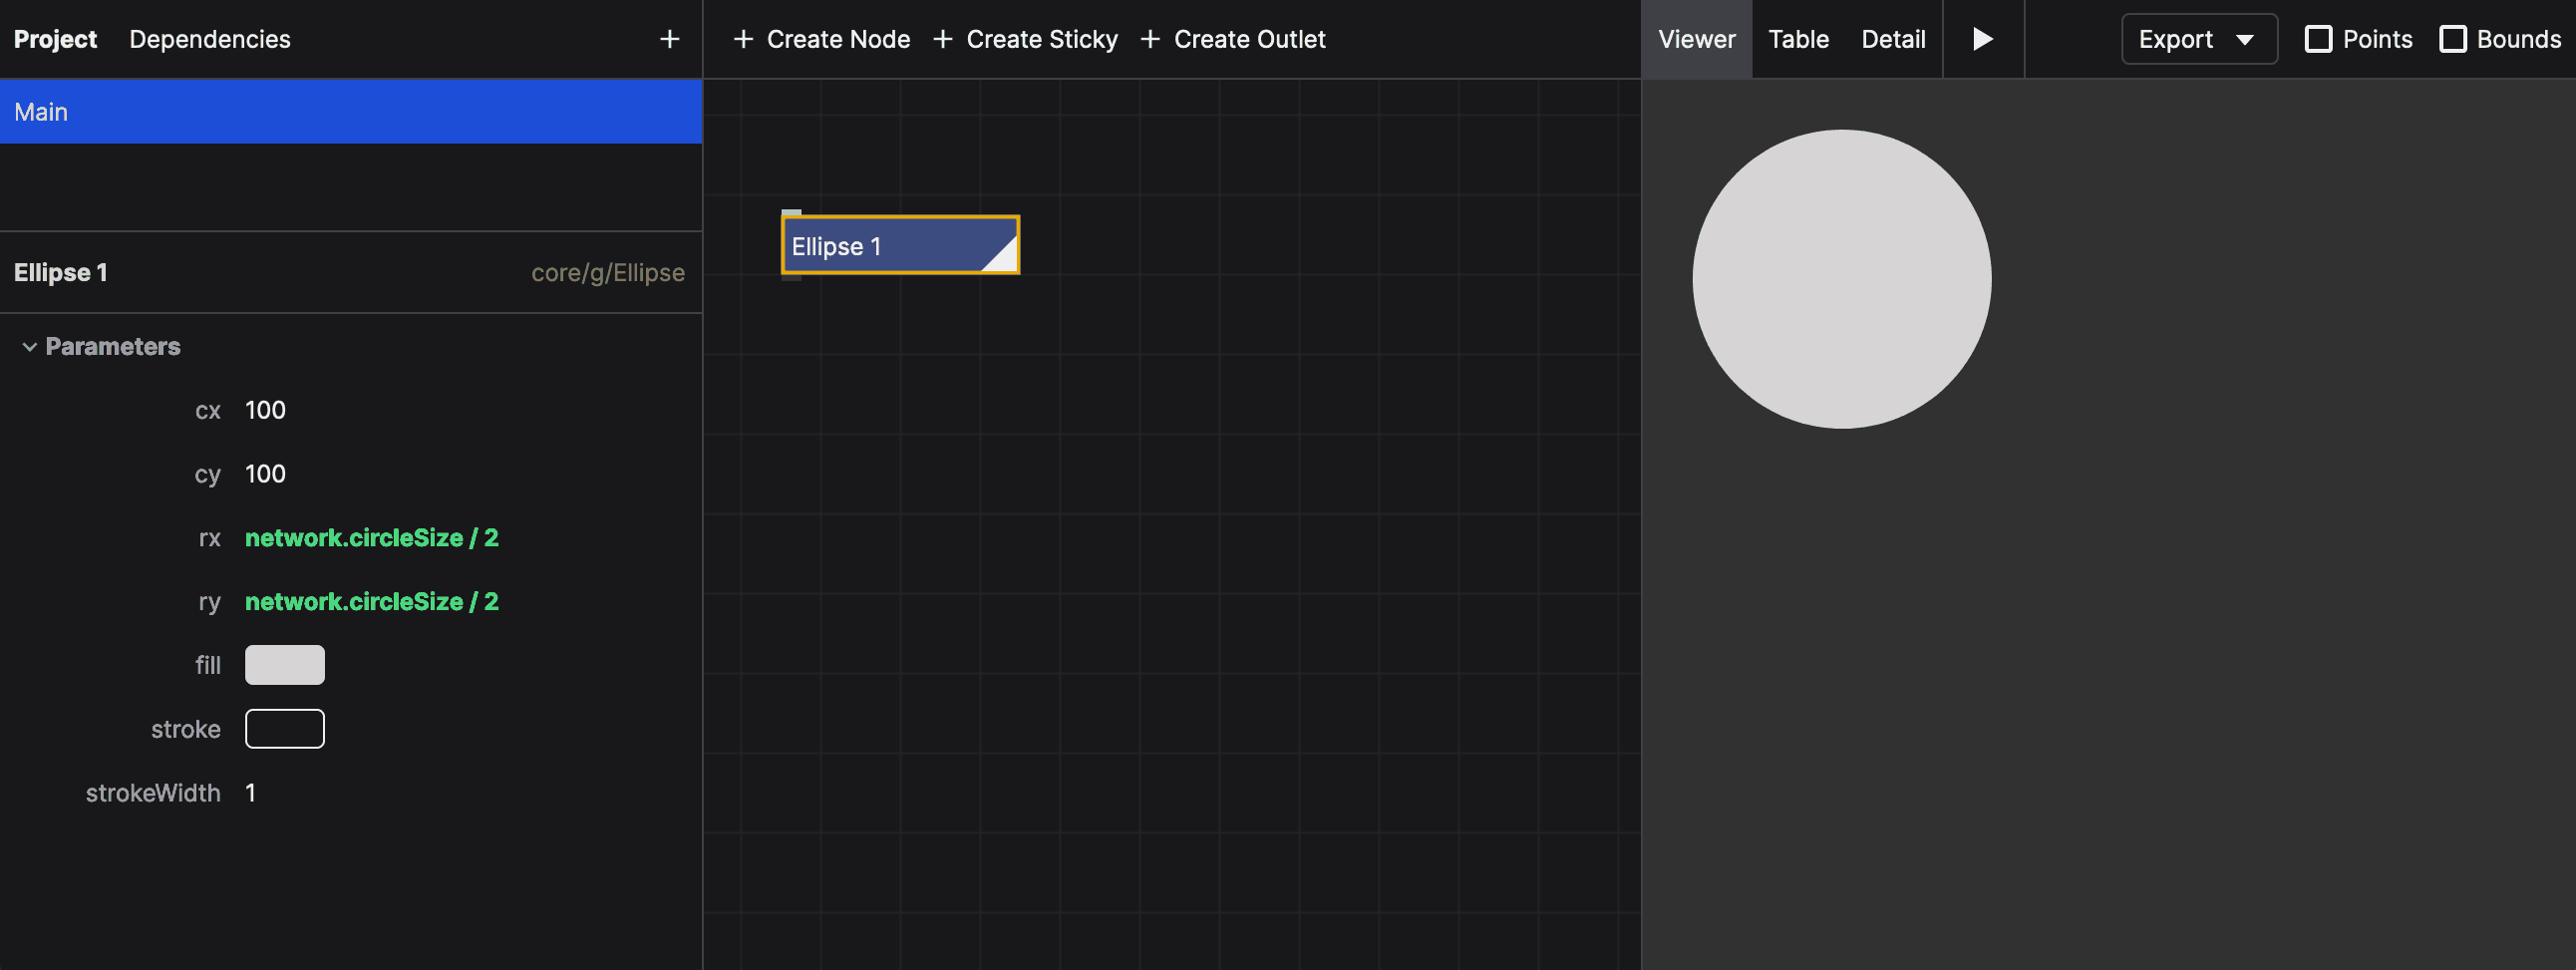
Now, whenever you embed the project, you can control the size of the circle from the outside. See the embedding guide for more information.
Tutorial: Business Card Generator
We're going to make a simple business card generator that allows you to customize the name, job title, and color of the card "logo". We'll use the Text, Rect and Ellipse nodes to create the card, and the Merge Shapes node to combine them.
Setting up the network
- In a new network, set the width and height of the network to 340 and 140, respectively.
- Create a
Rectnode that will function as the background. Set x and y to20, width to300, height to100, and fill to light gray. Add a 2 pixel stroke with a dark gray color. - Add a
Textnode that will display the name. Set x to100, y to55, text toAlice Pearson, and font size to24. Set the fill to dark gray. - Add a
Merge Shapesnode to see the result. Connect theRectto the first input and theTextnode to the second input. - Add another
Textnode for the job function. Set the text toDesigner, x to100, y to80, font size to14, and fill to the same gray color. Connect this node to the third input of theMerge Shapesnode. - Finally, add an
Ellipsenode for the "logo". Set cx and cy to60, and rx and ry to20, and fill to a light blue color. Connect this node to the fourth input of theMerge Shapesnode.
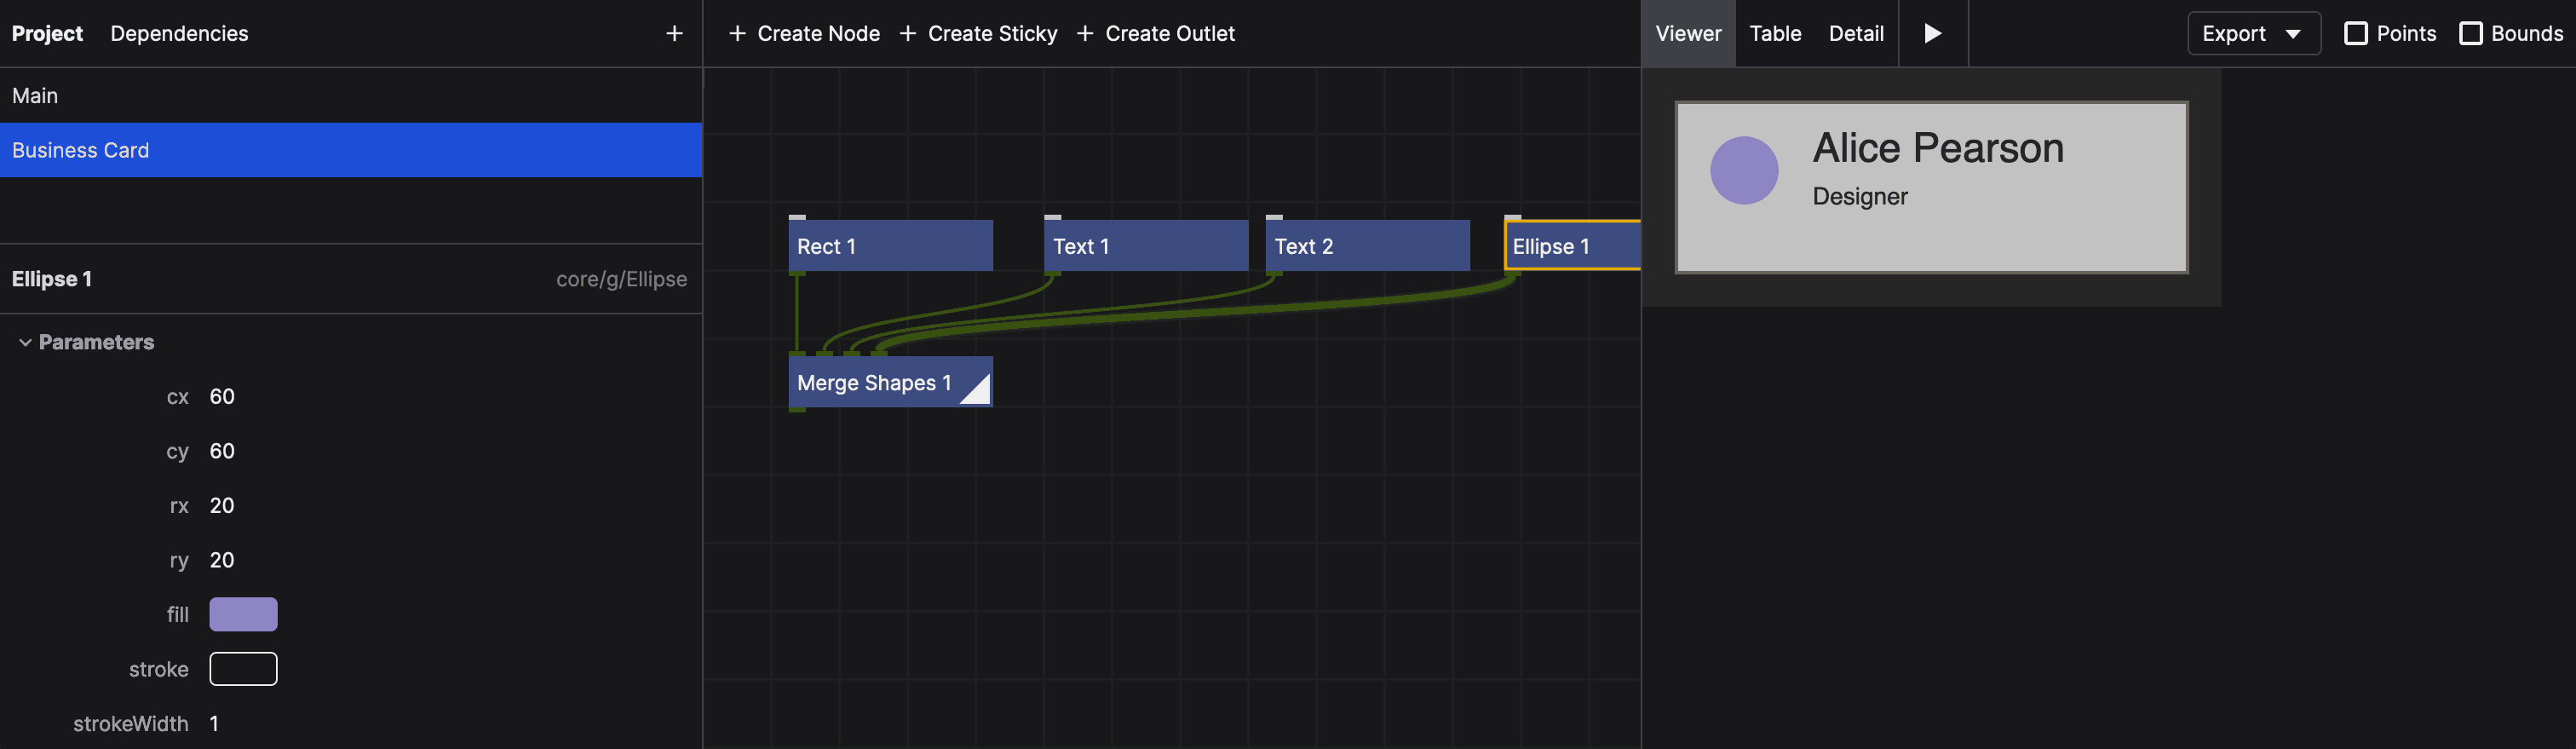
Your network should look like this:
Creating the parameters
Let's create the network parameters. Click somewhere in the network view to deselect all nodes. In the properties panel, click the "+" button in the "Parameters" section to add these three parameters:
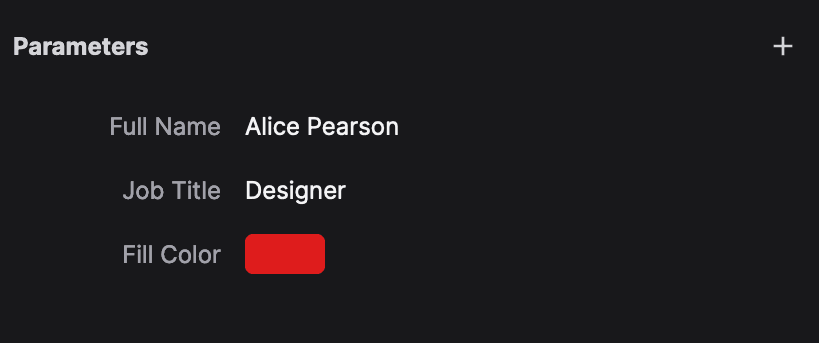
fullNameof type String and the labelFull Name. Set the value toAlice Pearson.jobTitleof type String and the labelJob Title. Set the value toDesigner.fillof type Color and the labelFill Color. Use the color picker to set the value to red.
The properties panel should look like this:
Using the parameters
Now we need to use these parameters in our nodes. In the first Text node, change the text property to an expression by clicking the {} icon. Set the expression to network.fullName. Do the same for the second Text node, using network.jobTitle for the text property. For the Ellipse node, use network.fill for the fill property.
You should now be able to change the name, job title, and color of the logo by changing the parameters in the properties panel: